Step-by-Step Guide: How to Install Pool Mosaics
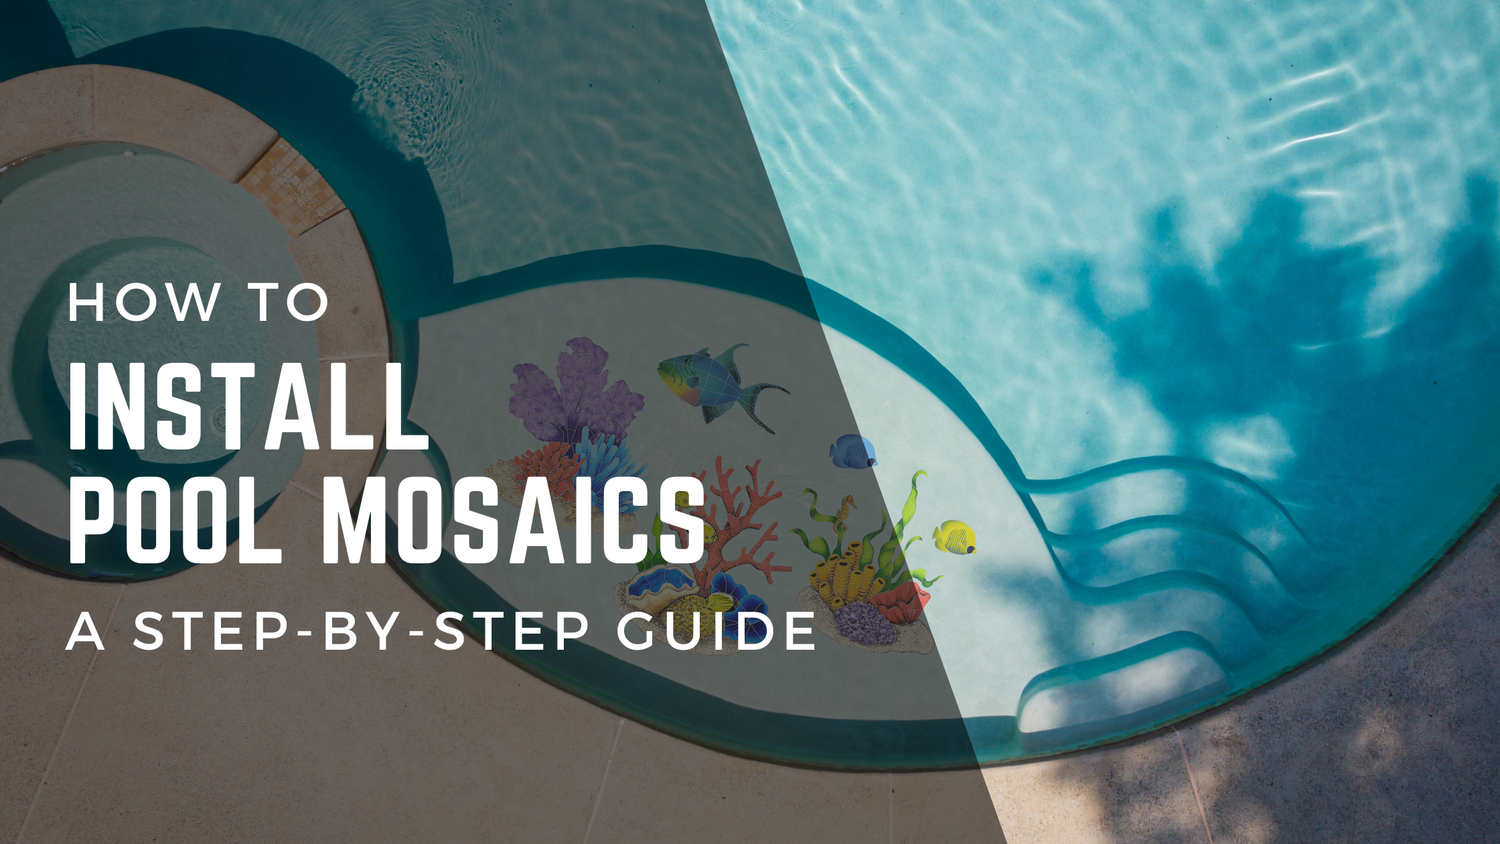
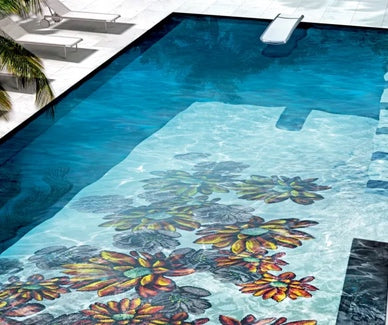
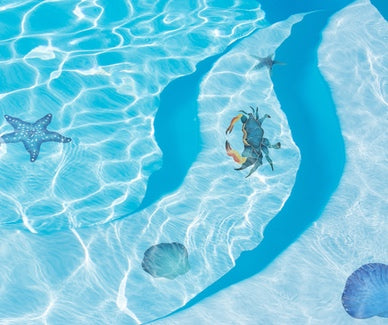
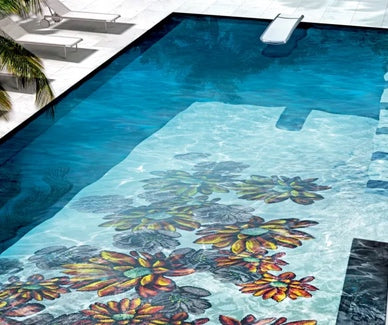
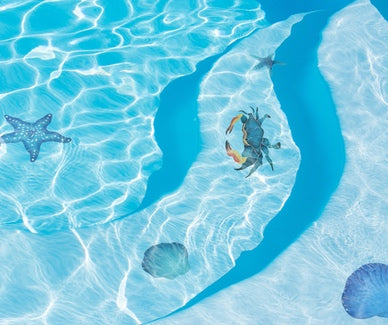
Looking to add some flair to your swimming pool? Installing pool mosaics is a great way to inject personality and style into your outdoor oasis. This guide will cover how to install pool mosaics, whether you're a DIY enthusiast or plan to hire a professional. From prepping your pool surface to adding the finishing touches, we'll explore the process.
Table Of Contents:
- Can Pool Mosaics be Installed on a Finished Pool?
- Preparing for Your Mosaic Installation
- Essential Materials and Tools for Mosaic Installation
- How to Install Pool Mosaics: Step-by-Step
- Grouting Your Pool Mosaics
- Conclusion
Can Pool Mosaics be Installed on a Finished Pool?
While it's generally recommended that pool mosaics be installed before plastering your pool, they can be installed after the fact. That said, it's important to point out that there will be a small lip around the mosaic, causing it to stick out of the shell. We're going to explore the installation process of both methods.

Preparing for Your Mosaic Installation
Planning is essential before starting any swimming pool mosaic installation. Consider the design, gather your materials, choose the location for your mosaics, and prepare your workspace. This will make the process smoother and prevent common problems.
Essential Materials and Tools for Mosaic Installation
Having the right materials and tools is essential for a successful installation. For submerged applications, use a thin-set mortar specifically designed for such environments. If you’re working on a finished pool, consider using a tile adhesive like Litoelastic EVO, a high-performance tile adhesive tailored for wet conditions that bond well to a variety of materials.
Ensure you have clean water and sponges on hand for easy cleanup. Essential tools include a notched trowel, grout float, and scissors. Depending on the mosaic style, you might also need rubber gloves and a scrub brush. For swimming pool mosaics installed before plastering, the grouting is typically done with the plaster after that stage of construction. However, if the pool is already finished, epoxy grout is a better choice for grouting, as it helps protect the mosaic and ensures a lasting finish.

How to Install Pool Mosaics: Step-by-Step
Now, it's time to install your pool mosaics. We've planned, gathered materials, and prepped the surface.
Installing Your First Mosaic Section
Trim any excess backing around the mosaics. This allows for full adhesion of the thin-set mortar. Then, back-butter the first mosaic section for a better grip, if necessary. Smaller mosaics may be a single piece, while larger, more elaborate designs can come in multiple parts. Pay close attention to those mosaics to place them in the correct order. Gently press the first piece onto the prepared surface. Use a level to ensure correct placement.

Repeating for All Mosaic Sections
Repeat the previous steps for all remaining sections. Remember to maintain consistent spacing and leveling. Pool chemistry can affect installation, so maintain proper water balance.
Cleaning Up Excess Materials
Clean up any excess mortar using your trowel. You want to try to get as close to the perimeter of the mosaic as possible without getting rid of any material directly under it. This will prevent issues during grouting.

Grouting Your Pool Mosaics
Grouting can damage your mosaic artwork if not done correctly. Follow the manufacturer's instructions carefully. This prevents damage during installation. As previously mentioned, if installed before plaster, pool mosaics are usually grouted using the same plaster applied to the pool shell. However, when installing it after a pool has been constructed, we recommend an epoxy grout. Be sure to choose a color that doesn't compete with the mosaics, so it doesn't ruin the design.
Mixing and Applying the Grout
Mix the grout according to the package directions. Depending on your pool finish, grouting techniques may vary. Use the appropriate trowel to apply the grout.
Fill all grout lines for a smooth finish. Make sure all of the grout lines are properly filled to create a professional-looking project.
After grouting, carefully remove any excess grout residue. Improper cleaning can cause problems later. Be sure to follow the manufacturing instructions and pay close attention to curing times. It's tempting to refill the pool immediately, but proper curing is crucial.

Conclusion
With careful planning, the right tools, and the proper techniques, you can create a beautiful pool featuring your favorite swimming pool mosaics. Successful installation of pool mosaics requires attention to detail, from choosing the right placement to ensuring you're using the right materials, so make sure to read up before you begin. From prep to the final steps, each phase is crucial. Remember, careful planning and the right techniques are key to a successful installation.
For help finding your dream pool mosaic, contact us today at (800) 971-1442 and bring paradise home today!

