5 Things to Avoid When Tiling Your Backsplash
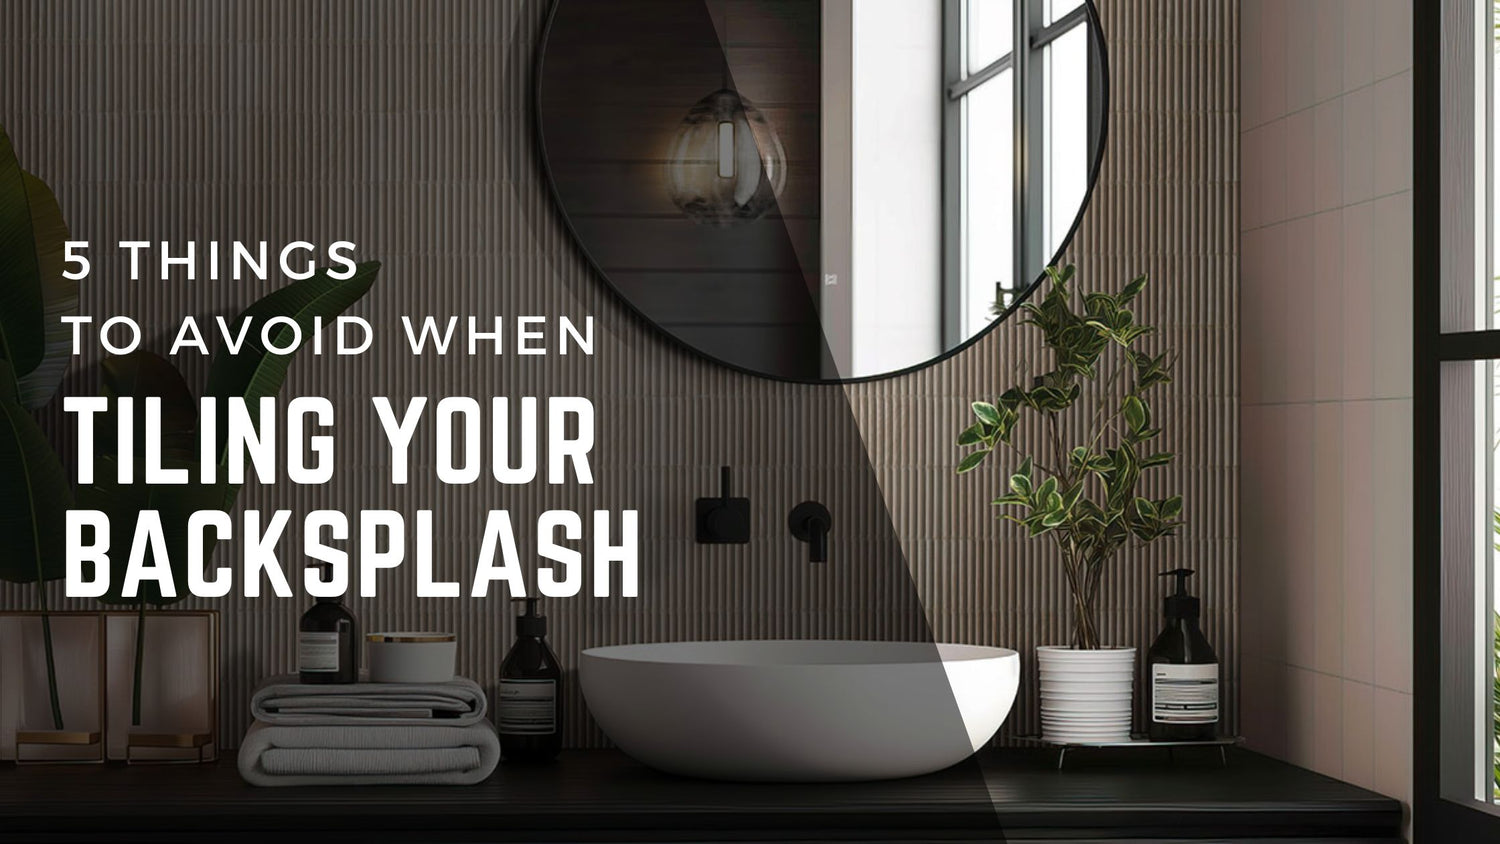
So, you're thinking about tiling your backsplash. This DIY project can add serious style and value to your kitchen and bathroom. However, like any DIY venture, there are key dos and don’ts to keep in mind. In this post, we'll guide you through common pitfalls to avoid, ensuring your backsplash installation goes smoothly and results in a stunning finish.
Table Of Contents:
- The Significance of Accurate Tile Quantities in DIY Backsplash Installations
- The Importance of Planning Your Tile Layout
- Inferior Products Lead to Inferior Results
- Considerations for Using Textured Tiles
- Whole-Home Harmony
- Tiling Your Backsplash: Materials and Tools
- Conclusion
From planning to execution, many things can go wrong with a backsplash project. Let's break down the most common mistakes so you can avoid these issues altogether.
The Significance of Accurate Tile Quantities in DIY Backsplash Installations
When taking on a DIY tile backsplash installation, one of the most important steps is ordering the right amount of tile. Running out of tile mid-project can be both frustrating and costly, so it's essential to plan ahead. Start by measuring the area carefully, but don't stop there, it's a good idea to order 10% more tile than your exact measurement. This extra cushion accounts for mistakes, damage, and any unexpected cuts, ensuring you have enough to finish the job without stress.
Why the Extra 10% Matters
That extra 10% can make a significant difference in the success of your project. Mistakes can happen with tile installation and tiles can get damaged during handling or cutting. Having a buffer stock of tile ensures you can replace any damaged or incorrect pieces without delaying the project. Additionally, unexpected cuts or design changes can arise, and having extra tile on hand can save you from having to reorder and wait for new shipments to arrive.
Tile is produced in batches, also known as lots. If you ordered your tiles even a few weeks before starting your project and unexpectedly need to order more, you may not be able to purchase tiles from the same lot, which can cause inconsistencies in the colors of your tiles. By ordering 10% more tile, you'll have peace of mind knowing you're prepared for any unexpected situations that may arise during your DIY tile backsplash installation.

The Importance of Planning Your Tile Layout
When it comes to installing a tile backsplash, one of the most crucial steps is often overlooked: planning the layout. It's tempting to dive right in, thinking that creating a straight line or pattern will be a breeze. Relying on guesswork can quickly result in a crooked or uneven installation that you’ll regret. Without a clear plan, it's easy to end up with misaligned tiles, inconsistent patterns, and a finish that looks unrefined. Taking the time to thoughtfully plan your layout is key to achieving a polished, professional-looking result.
Tools for a Successful Tile Installation
So, how do you ensure a successful tile installation? Start by gathering the right tools: a level, tile spacers, and a pencil. Before you begin, take the time to sketch out your design and plan your layout. Decide on the pattern, orientation, and placement of each tile. By taking these extra steps, you'll avoid common mistakes and ensure a beautiful, professional-looking tile installation that you'll be proud to show off. With a little planning and patience, you'll be enjoying your new backsplash in no time!

Inferior Products Lead to Inferior Results
A beautiful backsplash begins with quality materials. Cutting corners on tile adhesive and grout can lead to problems down the line. This doesn’t necessarily mean opting for the priciest options, it’s about selecting reliable, trusted brands that are well-suited for backsplash installations.
Litokol is renowned for its high-performance, premium installation materials, which is why we proudly offer a wide range of their products. When you choose Litokol, you’re choosing durability and excellence for your backsplash project.
Let’s talk mortar. When it comes to tile adhesives, we believe there’s nothing better than Litoelastic. This epoxy-based adhesive is incredibly versatile, perfect for everything from pools and spas to kitchens and bathrooms. Its pure white color also makes it an excellent choice for semi-translucent and translucent tiles. The right adhesive is the foundation of a flawless tile installation, and Litoelastic delivers exceptional performance every time. You can count on it to get the job done right!
Tile grout is the unsung hero of a great-looking bathroom or kitchen backsplash. While often overlooked, it plays a crucial role in protecting your tile investment. Grout not only fills in the gaps between tiles, creating a cohesive look, but it also provides a barrier against water, dirt, and stains. By sealing the spaces between tiles, grout prevents water from seeping behind the tile and causing damage to the substrate or walls. Without proper grouting, your tile installation is left vulnerable to damage, making grout an essential component of a successful and long-lasting tile installation.
The Starlike EVO epoxy grout collection is made up of a wide range of colors, ensuring you find the perfect one to help make your tile stand out! It's waterproof, stain and mold-resistant, and easy to clean and maintain! This makes it the perfect grout for areas like the kitchen where spills and food splashes are a common occurrence. All it takes is a simple wipe down and your backsplash will look good as new for years to come!

Considerations for Using Textured Tiles
Textured tiles can add visual interest to your backsplash, but they may require a bit more upkeep. Grease and grime can collect in the grooves, making cleaning more challenging. Additionally, heavily textured tiles might compete with other design elements, like busy countertops.
For high-traffic kitchen areas, smooth, easy-to-clean surfaces are a practical choice. Consider sleek glass or porcelain tiles, which offer both style and convenience. There are plenty of budget-friendly options that provide a beautiful, low-maintenance backsplash.

Whole-Home Harmony
Your kitchen backsplash should work in harmony with the rest of your home, not stand out in isolation. When designing your backsplash, think about how it fits into the broader flow of your space. While it doesn’t need to perfectly match the materials or style of other rooms, it should complement them to create a cohesive look.
Aim for a seamless transition by choosing colors or materials that echo the aesthetic of your home. Whether it’s a similar color palette or incorporating elements found elsewhere, the key is to enhance the overall design rather than create contrast. This approach ensures a balanced, unified feel throughout your space.

Tiling Your Backsplash: Materials and Tools
A successful tiling project requires the right supplies. Here’s what you’ll need:
| Material | Purpose |
|---|---|
| Tile | The star of the show. Choose glass, porcelain, ceramic, or natural stone. |
| Adhesive | Secures the tile to the wall. Opt for thin-set, mastic, or adhesive. |
| Grout | Fills the gaps between tiles for a polished look. |
| Tools | Various tools for precise installation like trowels, Tile Spacers, floats, cutters, and levels. |
Conclusion
Tiling your backsplash might seem like a big job, but it can be a manageable project if you plan accordingly. Making sure you have all the tools necessary for the job, using simple tile patterns, and keeping the rest of your home's aesthetic in mind will minimize problems and maximize impact.
Remember, a well-chosen and installed tile backsplash elevates your space and adds durability when properly done. Happy tiling!
As always, don't hesitate to contact us today at (800) 971-1442 for help finding the perfect materials for your next kitchen or bathroom backsplash project!

